guides
OctoPrint Plugins Worth Installing (and Which to Skip)
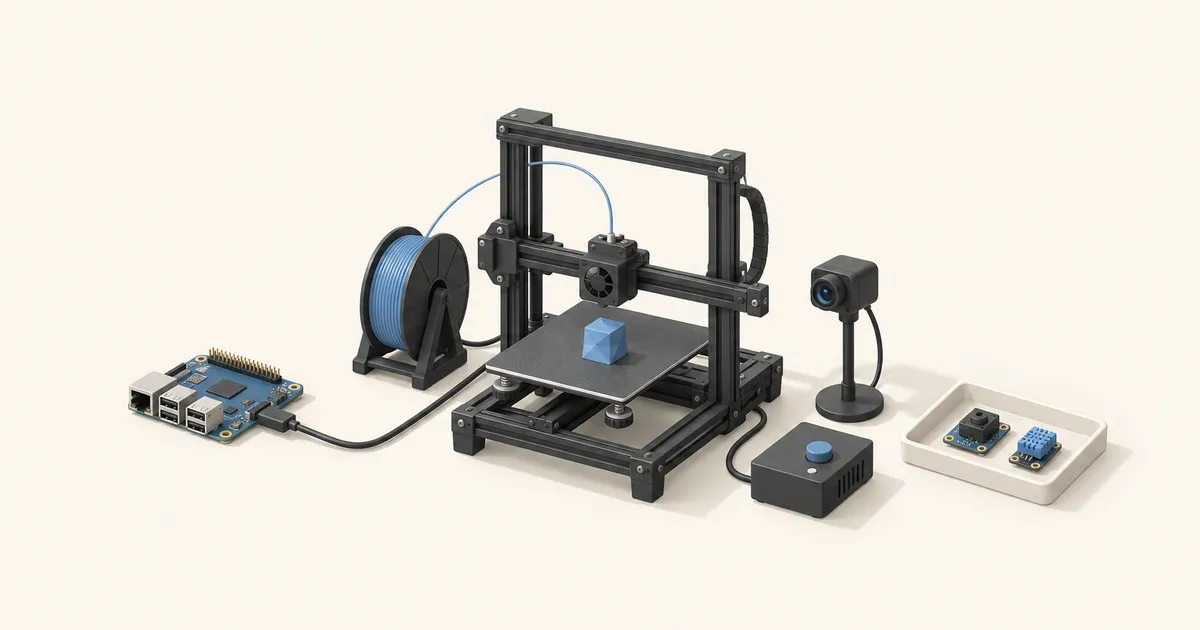
Which OctoPrint plugins are worth installing on a Raspberry Pi host: what each one fixes, what it costs the h…
OctoPrintLab explains how to choose an OctoPrint host, complete first boot, monitor a printer and diagnose a connection that stops during a job. OctoPrintLab Editorial builds these guides from published project documentation and hardware specifications. Start with the task you need to finish: getting the interface online, choosing a plugin, restoring the serial connection or reaching the printer through a private remote connection.
The Raspberry Pi setup guide covers Pi 3B+, Pi 4 and Pi 5, plus the Pi Zero 2 W. The Zero 2 W has 512MB RAM and one USB OTG data connection, so camera connections and extra plugins need planning. It is distinct from the original Zero W. Check the OctoPi hardware and image list before writing a card.
Power requirements vary by board. Raspberry Pi documents 5V/2.5A for Pi 3B+, 5V/3A for Pi 4 and 5V/5A for Pi 5, measured at the plug. The official power guidance also explains peripheral limits. Our setup guide connects those requirements to storage, USB cables and first-boot account choices.
On first boot, distinguish the system account used for SSH from the administrator account created in the OctoPrint browser wizard. The setup article explains hostname discovery, router-assigned IP addresses and changing initial credentials. Keep a working local connection available while you add remote access.
For cameras, compare a supported USB webcam with a CSI ribbon camera, checking the image, connector and camera software together. Begin with a modest stream and watch the host's resource use before adding timelapse processing. The plugin guide explains the purpose and workload of monitoring, visualization and housekeeping extensions.
If a job stops, the disconnect guide separates undervoltage, USB retries, changing serial paths, host contention, plugin faults and firmware errors. If only the browser is unreachable, the remote access guide covers Tailscale, WireGuard, an authenticated proxy and OctoEverywhere.
Use OctoPrint vs Klipper to understand the difference between host monitoring and firmware motion planning. For running costs, enter your own average wattage and job duration in the 3D print energy cost calculator. Follow the linked procedures in order and change one variable at a time so each result can guide the next step.
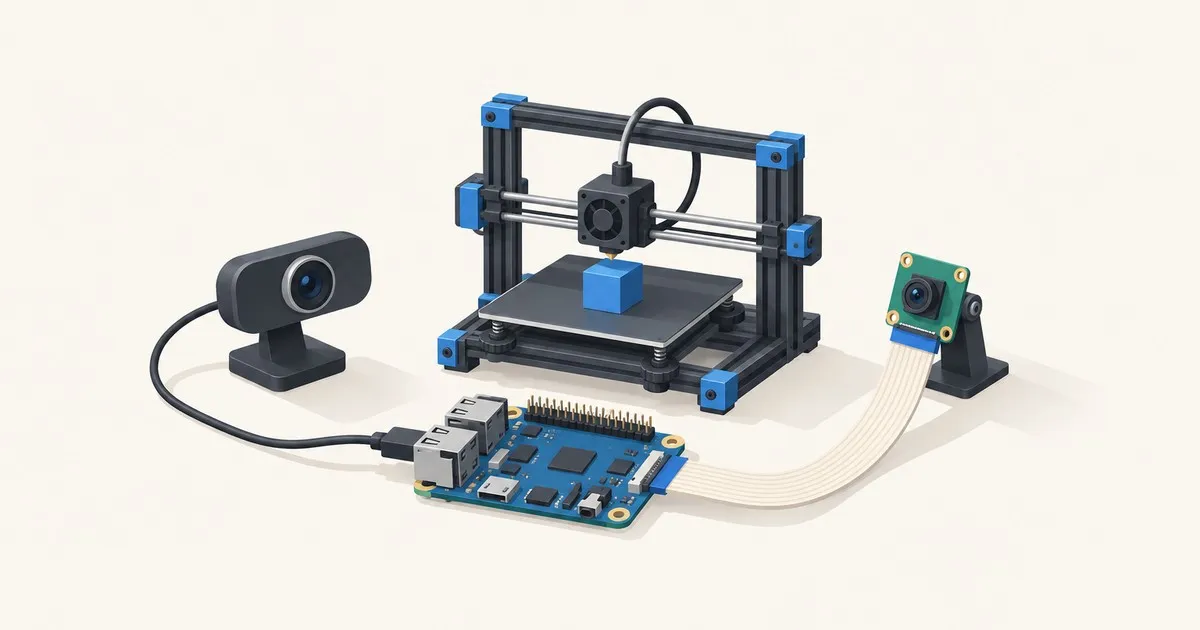
Add a USB webcam or Raspberry Pi camera to OctoPrint: which OctoPi image to flash, the config files to edit, stream URLs and settings that hold up.
Read the article →Which OctoPrint plugins are worth installing on a Raspberry Pi host: what each one fixes, what it costs the h…
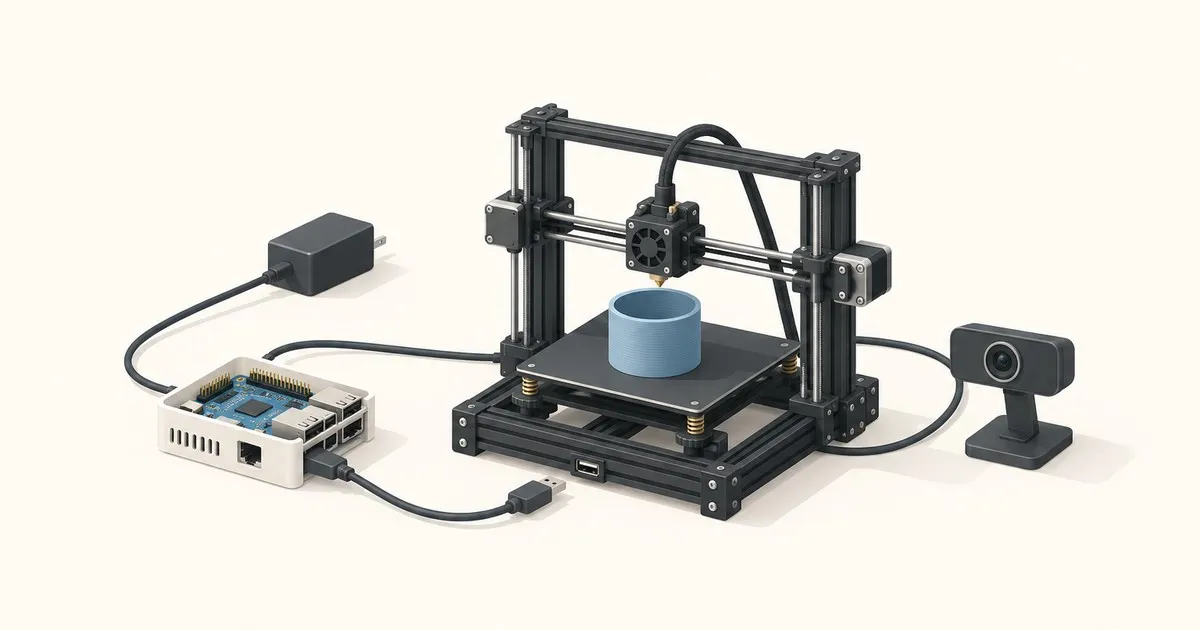
A diagnostic order for OctoPrint disconnects and communication errors, from undervoltage and USB noise to plu…
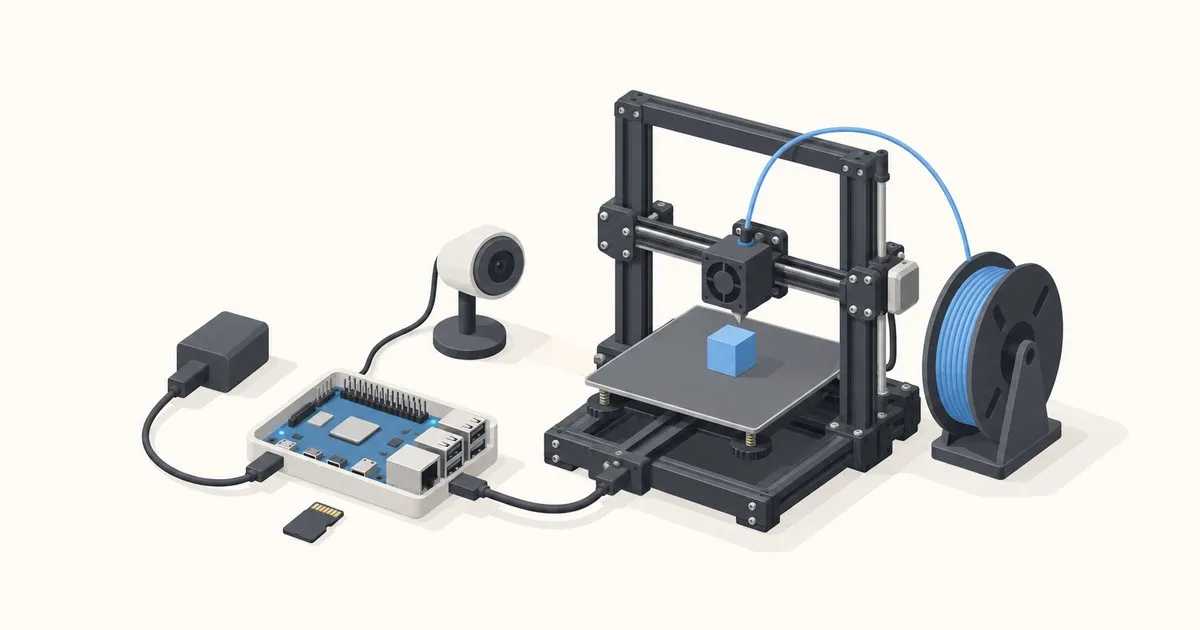
Which Raspberry Pi to buy for OctoPrint, the power supply and cable choices that actually matter, and how to …
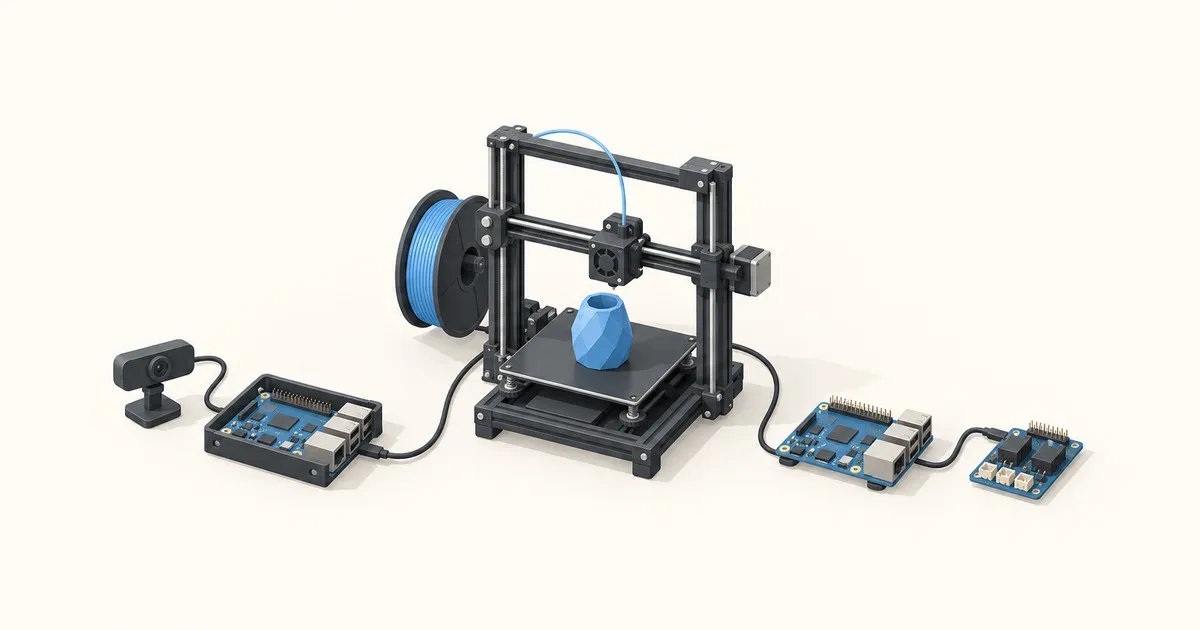
OctoPrint and Klipper are not the same kind of software. What each one replaces, what the switch costs you, a…
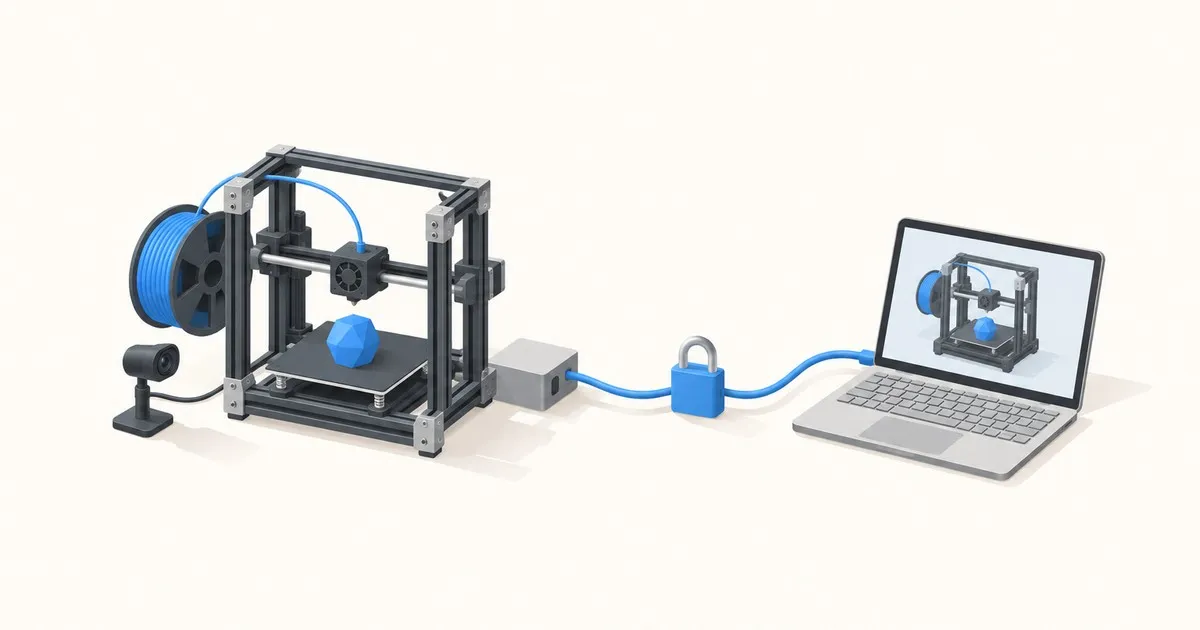
Set up OctoPrint remote access with Tailscale, WireGuard, an authenticated proxy or OctoEverywhere, with chec…